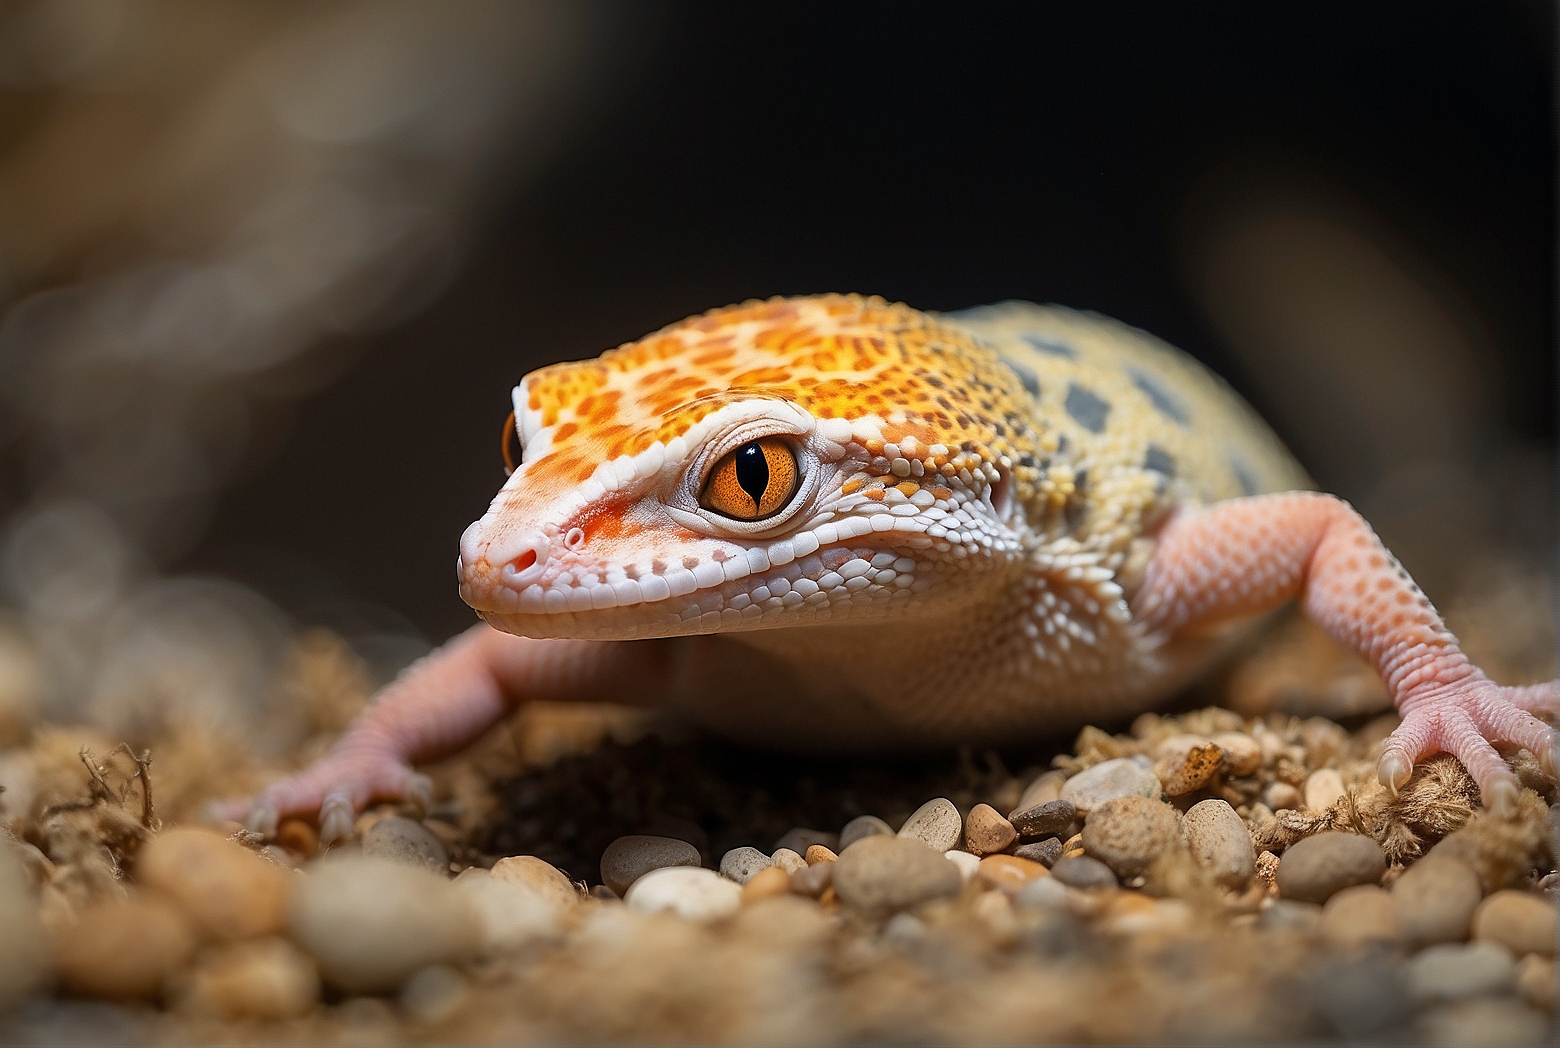
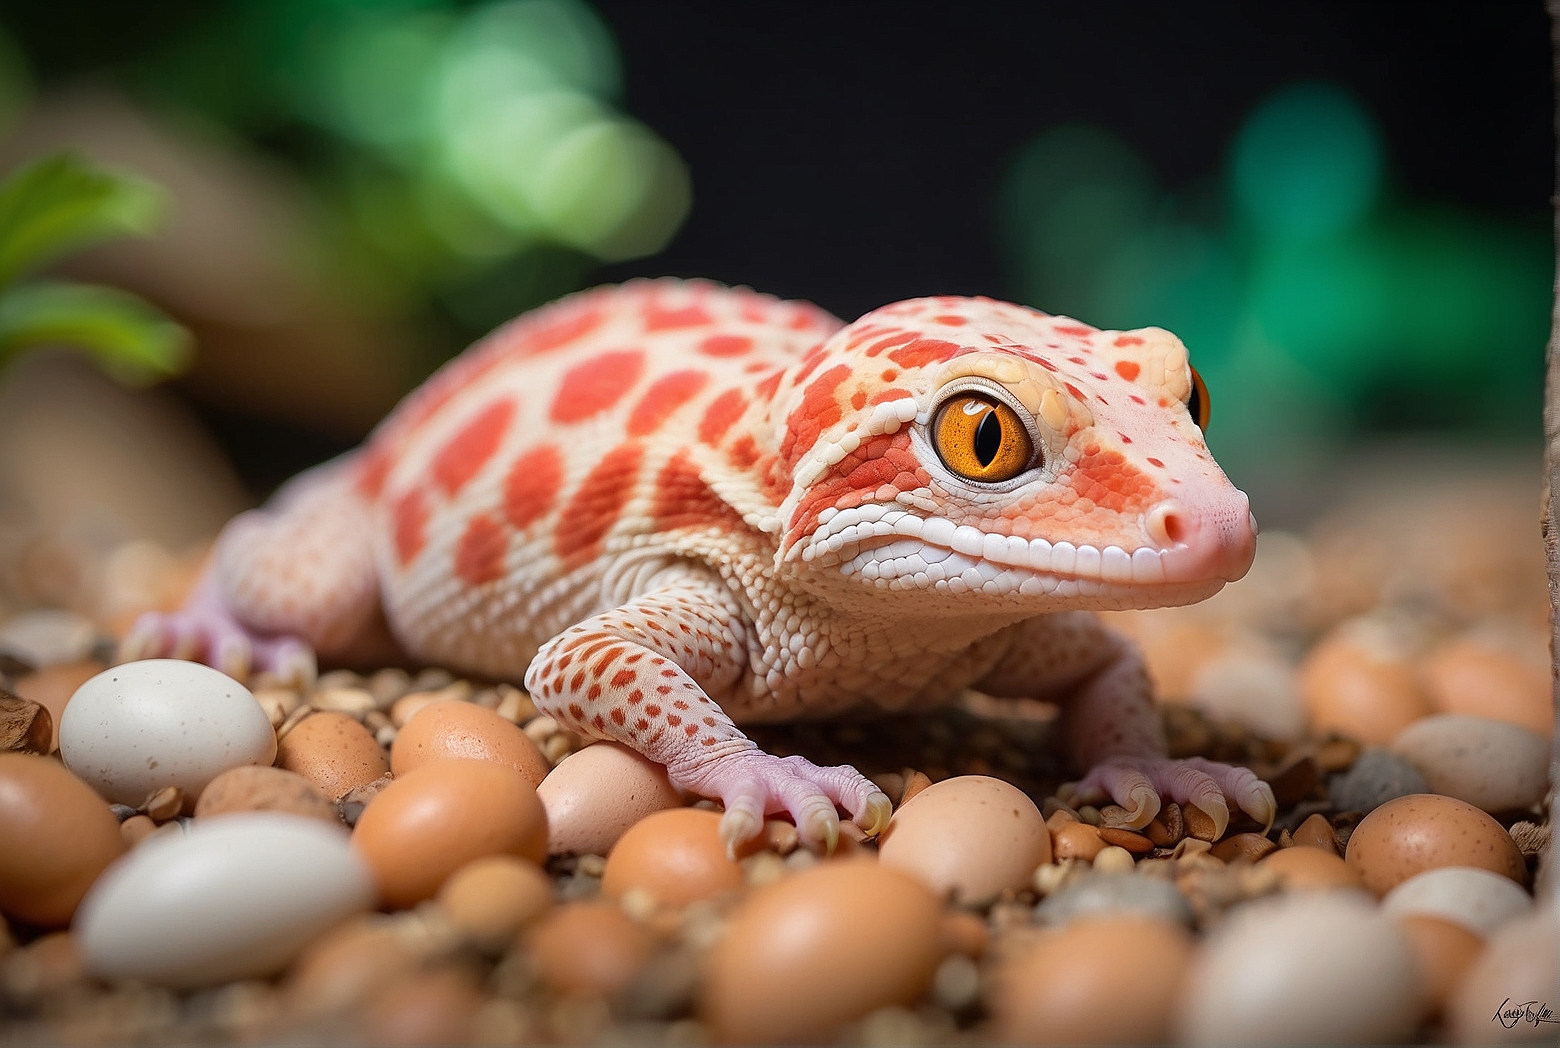
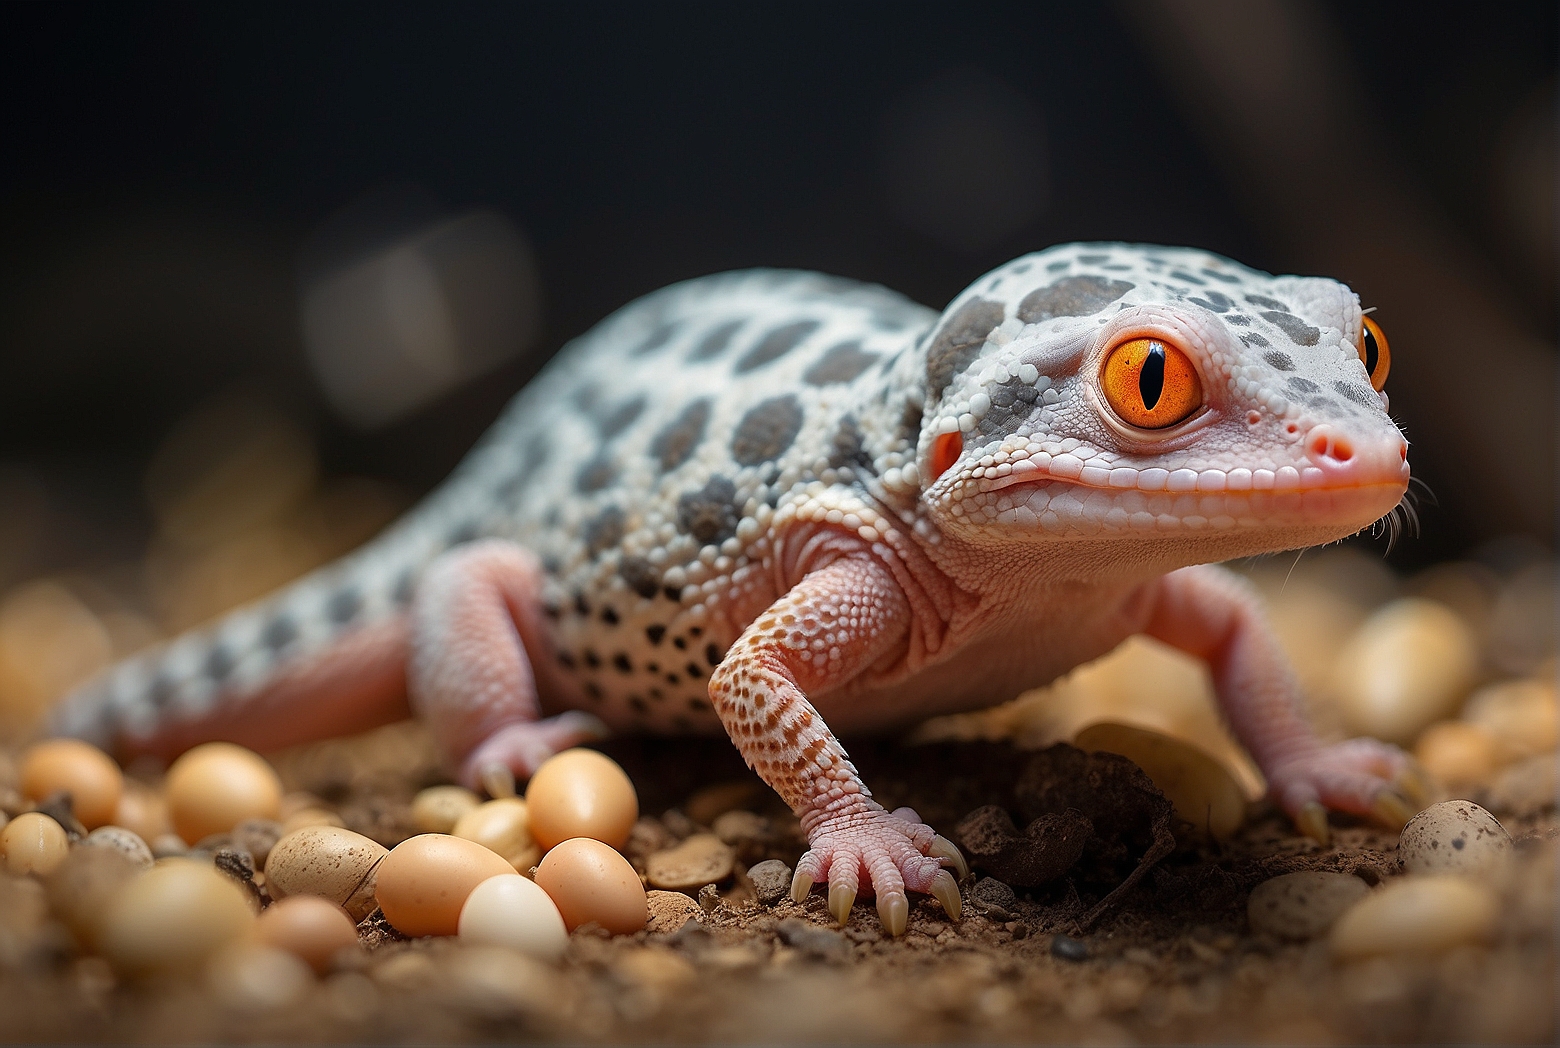
If you’ve ever wanted to experience the miracle of life up close, then learning how to incubate leopard gecko eggs is an exciting adventure waiting for you. This fascinating process allows you to witness the journey from egg to hatchling, and with the right techniques, you’ll ensure the health and success of these adorable creatures. In this article, we’ll guide you through the process step by step, giving you all the knowledge and tips you need to create the perfect environment for your gecko eggs to thrive. Get ready to embark on a wonder-filled journey of incubation and growth!
Preparing the Incubator
Selecting an incubator
When preparing to incubate leopard gecko eggs, it is important to choose the right incubator. There are various types of incubators available on the market, including styrofoam or plastic models. Consider the size of your clutch and the space available in the incubator when making your selection. Additionally, look for an incubator with reliable temperature and humidity control to create optimal conditions for egg development.
Cleaning and sanitizing the incubator
Before starting the incubation process, it is crucial to thoroughly clean and sanitize the incubator. Use a mild detergent and warm water to clean the surfaces, ensuring that no residue or contaminants remain. Rinse the incubator thoroughly and then use a disinfectant specifically designed for reptile enclosures. This step will help prevent the growth of harmful bacteria or fungi, which can be detrimental to the developing eggs.
Setting up the incubator temperature
Maintaining the right temperature is crucial for successful egg incubation. Leopard gecko eggs typically require a temperature between 82°F and 88°F (28°C and 31°C) for optimal development. Use a reliable thermometer to monitor the temperature inside the incubator and make necessary adjustments. Avoid placing the incubator in direct sunlight or near sources of heat or cold drafts, as this can cause temperature fluctuations. It is important to ensure a consistent and stable temperature throughout the incubation period.
Collecting and Handling the Eggs
Identifying fertile eggs
Before transferring the eggs to the incubator, it is essential to identify which ones are fertile. Fertile eggs will have a yellowish or amber color with visible blood vessels when candled. Infertile eggs, on the other hand, will appear opaque or with a pure white color. Carefully inspect each egg to determine its fertility before proceeding with incubation.
Gently removing the eggs from the breeding tank
When it is time to collect the leopard gecko eggs from the breeding tank, it is important to handle them with care. Using clean, sanitized hands or gloves, gently lift each egg without applying excessive pressure or twisting motions. Avoid dropping or jostling the eggs, as this can harm the developing embryos. Place each egg in a separate container or tray, ensuring they are not touching or stacked on top of one another.

Avoiding excessive handling of the eggs
During the transfer process, it is crucial to minimize excessive handling of the eggs. Excessive movement or flipping of the eggs can disrupt the developing embryos inside and potentially harm their development. Additionally, constantly handling the eggs can transfer oils, bacteria, or other contaminants from your hands to the eggshell. Minimize handling to reduce the risk of damaging the eggs and compromising their viability.
Creating the Incubation Medium
Choosing a suitable substrate
Selecting the right substrate is important to create the ideal environment for incubating leopard gecko eggs. One common and effective substrate option is vermiculite. It offers good moisture retention, contributing to the steady humidity levels required during incubation. Another option is perlite, which provides good airflow. Both substrates are readily available and can be easily prepared for use in the incubation process.
Moistening the substrate to the proper consistency
Preparation of the substrate involves achieving the appropriate moisture level. The substrate should be moist, but not dripping wet, to prevent excess moisture from damaging the eggs. Start by adding water to the substrate gradually, mixing it thoroughly until it reaches a consistency similar to a damp sponge. Check the moisture level by gently squeezing a handful of substrate – it should stick together without releasing excessive water.
Placing the substrate in the incubation container
Once the substrate has reached the proper moisture level, it can be placed in the incubation container. Fill the container with the substrate to a depth of approximately one to two inches (2.5 to 5 centimeters) to provide a suitable bedding for the eggs. Smooth the surface of the substrate to create a flat and even layer to support the eggs.
Incubation Container and Setup
Selecting an appropriate incubation container
Choosing the right incubation container is essential to provide a safe and comfortable space for the eggs. Consider a container that allows for proper airflow and maintains consistent temperature and humidity levels. Plastic or glass containers with ventilation holes are commonly used for leopard gecko egg incubation. Ensure the container is large enough to accommodate the number of eggs in your clutch, leaving enough space to position them without crowding.
Creating a suitable setup in the container
Once you have selected the incubation container, it is important to create a suitable setup inside. Start by placing a layer of moistened substrate at the bottom of the container. This provides a bed for the eggs and helps maintain stable humidity levels. Additionally, consider adding a small hygrometer to monitor the humidity inside the container accurately. Place it near the eggs without touching them to ensure an accurate reading.

Positioning the eggs in the container
Proper positioning of the eggs in the incubation container is vital for their development. Gently place each egg on the surface of the substrate, making sure they are not buried or touching each other. This allows for proper air circulation around each egg and reduces the risk of cross-contamination. Monitor the placement of the eggs throughout the incubation period, ensuring they remain in their original positions.
Maintaining the Incubation Environment
Monitoring temperature and humidity levels
Regular monitoring of temperature and humidity levels in the incubation environment is essential to create optimal conditions for embryo development. Use a reliable thermometer and hygrometer to accurately assess these parameters. Check the temperature and humidity levels at least daily and record the readings to track any changes or deviations. This information will help you make timely adjustments if needed.
Adjusting the temperature or humidity if necessary
If the temperature or humidity levels inside the incubator are not within the optimal range, adjustments might be necessary. To raise the temperature, consider using a heat mat or heat lamp outside the incubation container. Placing a thermostat device can help maintain a consistent temperature. Increasing humidity can be achieved by adding small dishes of water inside the incubator or using a fine mist spray bottle to lightly spritz the substrate.
Avoiding extreme temperature fluctuations
Consistency is of utmost importance when it comes to incubating leopard gecko eggs. Avoid exposing the eggs to extreme temperature fluctuations as this can negatively impact their development. Rapid changes in temperature can cause stress, deformities, or even death of the developing embryos. Maintain a stable and consistent temperature, making gradual adjustments if necessary.
Incubation Period and Egg Development
Understanding the average incubation period
The incubation period for leopard gecko eggs typically ranges from 40 to 60 days. However, it is important to note that individual variations may occur. Factors such as temperature, genetics, and the health of the breeding pair can influence the duration of the incubation period. It is essential to have patience and monitor the eggs closely throughout this period to ensure optimal development.
Identifying signs of fertile egg development
During the incubation period, signs of fertile egg development will become visible. One of the most notable signs is the appearance of blood vessels when candling the eggs. These blood vessels indicate that the embryo is developing inside the egg. Additionally, fertility can also be assessed by observing the appearance of a white or pink ring near the surface of the egg. These signs indicate that the embryo is growing and progressing normally.
Monitoring the progress of embryonic development
Regular monitoring of the eggs as they develop is important to ensure the health and viability of the embryos. It is advisable to candle the eggs periodically, allowing you to observe the growth and movement of the developing embryos. Avoid excessive handling and ensure your hands and any tools used for candling are clean and sanitized to prevent contamination. Monitor the eggs closely for any signs of abnormal development or potential issues.
Handling Potential Issues
Dealing with infertile or non-viable eggs
During the incubation process, it is possible to encounter infertile or non-viable eggs. These eggs will not show signs of development, blood vessels, or any indications of life. If you identify such eggs, it is best to remove them from the incubation container promptly. Leaving these eggs in the container can lead to mold growth or contamination, which can be harmful to the viable eggs.
Addressing mold or bacterial growth in the incubator
Mold or bacterial growth in the incubator can pose a risk to the developing eggs. If you notice any signs of mold or bacteria, immediate action is necessary to prevent further spread and potential harm to the eggs. Remove any affected substrate or materials from the incubator and discard them properly. Clean and sanitize the incubator thoroughly, ensuring all surfaces are free from contaminants before continuing the incubation process.
Taking preventive measures against common problems
To prevent potential issues during incubation, there are several preventive measures you can take. Minimize handling of the eggs to reduce the risk of damage or contamination. Maintain proper sanitation and cleanliness in the incubator to prevent the growth of mold or bacteria. Monitor temperature and humidity levels consistently to ensure ideal conditions for egg development. By following these guidelines, you can increase the chances of successful incubation.
Preparing for Hatching
Setting up a separate hatching container
As the eggs near the hatching stage, it is essential to provide a separate hatching container. This container should be clean and free from any contaminants that could harm the hatchlings. A small plastic or glass container with a secure lid can be used for this purpose. The separate hatching container ensures that the newborn geckos have a safe and controlled environment for their crucial first moments.
Creating a suitable environment for the hatchlings
The hatching container needs to provide a suitable environment for the hatchlings. It should be set up with appropriate substrate, such as moist paper towels or reptile carpet, to allow easy movement for the newborns. Maintain a temperature of around 80°F (27°C) in the hatching container to support their initial growth and development. Providing hiding spots such as small hides or rolled paper towel tubes will give the hatchlings a sense of security.
Monitoring the eggs closely for signs of hatching
As the incubation period comes to an end, closely monitor the eggs for signs of hatching. Watch for small cracks or pips appearing on the eggshell, indicating that the hatchlings are attempting to break free. Avoid interfering unless absolutely necessary, as the hatchlings need to complete the hatching process independently. Once hatching begins, maintain a calm and quiet environment to prevent stress or disturbance to the newborn geckos.
Assisting with Hatching
Understanding when to intervene during hatching
While it is important to allow the hatchlings to hatch on their own, there are instances when intervention may be required. If a hatchling is noticeably struggling or has been pipped for an extended period without making progress, it may be necessary to provide assistance. Carefully assess the situation before intervening and seek advice from a reptile veterinarian or experienced breeder if needed.
Providing necessary assistance to struggling hatchlings
When assisting a struggling hatchling, it is important to proceed with caution to avoid causing harm. Gently moisten the eggshell around the piped area with warm water or a damp cotton swab to soften it. Use a clean, sanitized pair of tweezers or your fingers to carefully remove small portions of the shell, allowing the hatchling to emerge. Take care not to rush the process or pull the hatchling forcefully, as this can cause injury.
Ensuring a stress-free transition for the newly hatched geckos
Once the hatchling has successfully emerged from the egg, it is crucial to ensure a stress-free transition into its new habitat. Carefully transfer the hatchling to its prepared enclosure, ensuring it has access to fresh water and a suitable hiding spot. Maintain the appropriate temperature and humidity levels in the enclosure to support the hatchling’s growth and overall health. Minimize handling and disturbances during this critical period to allow the hatchling to acclimate comfortably.
Caring for Hatchlings
Preparing an appropriate enclosure for the hatchlings
Providing a suitable enclosure for the hatchlings is vital for their well-being. A small, appropriately sized enclosure with proper ventilation and appropriate substrate will ensure a safe and comfortable environment. Avoid placing multiple hatchlings together initially to prevent aggression or competition for resources. Ensure the enclosure has appropriate hiding spots, water dish, and a temperature gradient to meet the needs of the growing geckos.
Feeding and watering the hatchlings
Leopard gecko hatchlings require a nutritious diet to support their growth. Offer appropriately sized live insect prey, such as pinhead crickets or small mealworms, dusted with a calcium supplement. Monitor the hatchlings’ feeding behavior and adjust the prey size accordingly to prevent choking or overfeeding. Provide a shallow water dish with fresh water at all times, ensuring it is accessible and easy to locate for the hatchlings.
Monitoring their growth and overall health
Regular monitoring of the hatchlings’ growth and overall health is crucial during their early stages. Keep track of their weight, observing steady growth over time. Monitor their behavior, ensuring they are active and alert. Look for any signs of abnormal shedding, injuries, or changes in appetite. If any concerns arise, consult a reptile veterinarian knowledgeable about leopard geckos for guidance and appropriate care. By providing proper care and attention, you can help the hatchlings thrive and develop into healthy adult geckos.
